Firstly I remove any old polish. I use OPI Expert Touch polish remover and find it's not too drying for my cuticles. Next I use a lint free cloth (also OPI Expert Touch) to finally remove any residual polish around my cuticles. These are my everyday tools. Nothing fancy just a 4-way buffer, an orange stick and some clippers.

This is a new addition to my essential tools - a buffing orange stick - what a brilliant idea! Next I use Sally Hansen's Instant Cuticle Remover which I leave on for about a minute, then scrape around my cuticles and push them back. After rinsing this off I go back to my buffing orange stick and clean up around my cuticles.

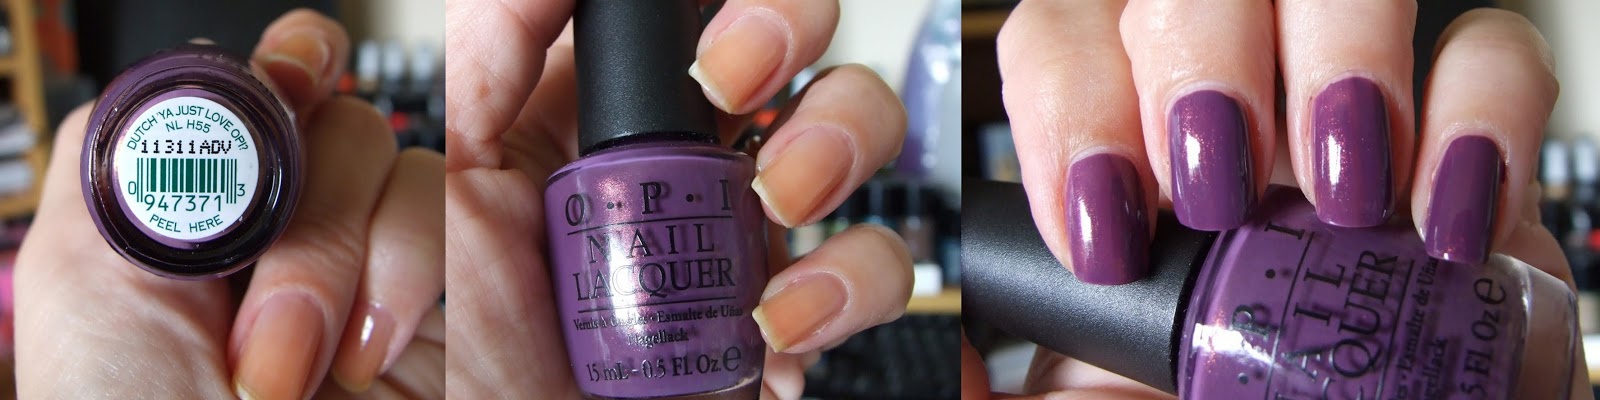
On to the clean up stage - I ALWAYS do this as I go. My go-to tools for this are a small paint brush and my orange stick. Any polish I get on my cuticles I remove instantly with an orange stick dipped in some polish remover. This polish pump is by far the best investment I've made. It's easy to use one handed and dispenses only a tiny amount of polish remover at one time. My little finger shows a small amount of polish on my cuticles which isn't a major - but the perfectionist in me has to clean it up!


On to the photographing stage - this is my photo in it's original untouched form. I usually try and find a sunny spot although some days the sun can be a bit scarce.

And the finished result . . . I've rotated the picture a bit and added my watermark.

I know everyone has their own way of painting their nails, but this is my usual method. I hope you've found this informative and it answers a few questions.
My husband gave me one of those pump bottles years ago, except mine is brown glass. LOVE IT! I follow the same process as you for manicure, very nice explanation and photos!
ReplyDelete